How to Start Seeds: 18 Confidence-Building Tips
Starting Seeds Indoors and Out
start seed indoors, or which seed to sow directly in the garden, and how? Becoming a confident seed starter unlocks a garden of possibilities; you can try your hand at anything offered in any catalog, no longer limited by the local garden center’s palette. As daunting as it may seem, remember this: In nature, seeds sow themselves successfully–usually emerging when the soil’s moist and starting to warm up, then enjoying fresh air and plenty of sunshine, with hopefully just enough rain.
Following the links in my 18 simple seed-starting tips for more detail, and examples of the gear I use. I also have an FAQ page of seed related questions and answers, if something’s not covered here, plus how-to links for some popular vegetables at the bottom of this page.
Details of spacing and depth are not included, since they vary by crop. Your seed packet (or better yet, the company’s website it came from) will offer specifics. My basic guidance: Except with large seeds like peas and beans and squash, which I direct sow outdoors and deeper, I make a shallow depression or furrow, press the seed gently in, and lightly cover it with more medium.
Cheat sheet: If you’re only going to do one thing on the list to improve your seed-starting results, focus on the light.
Too little light is the most common reason for seed-sowing failure by home gardeners, making tips Number 11 and 12 probably the key advice of all.
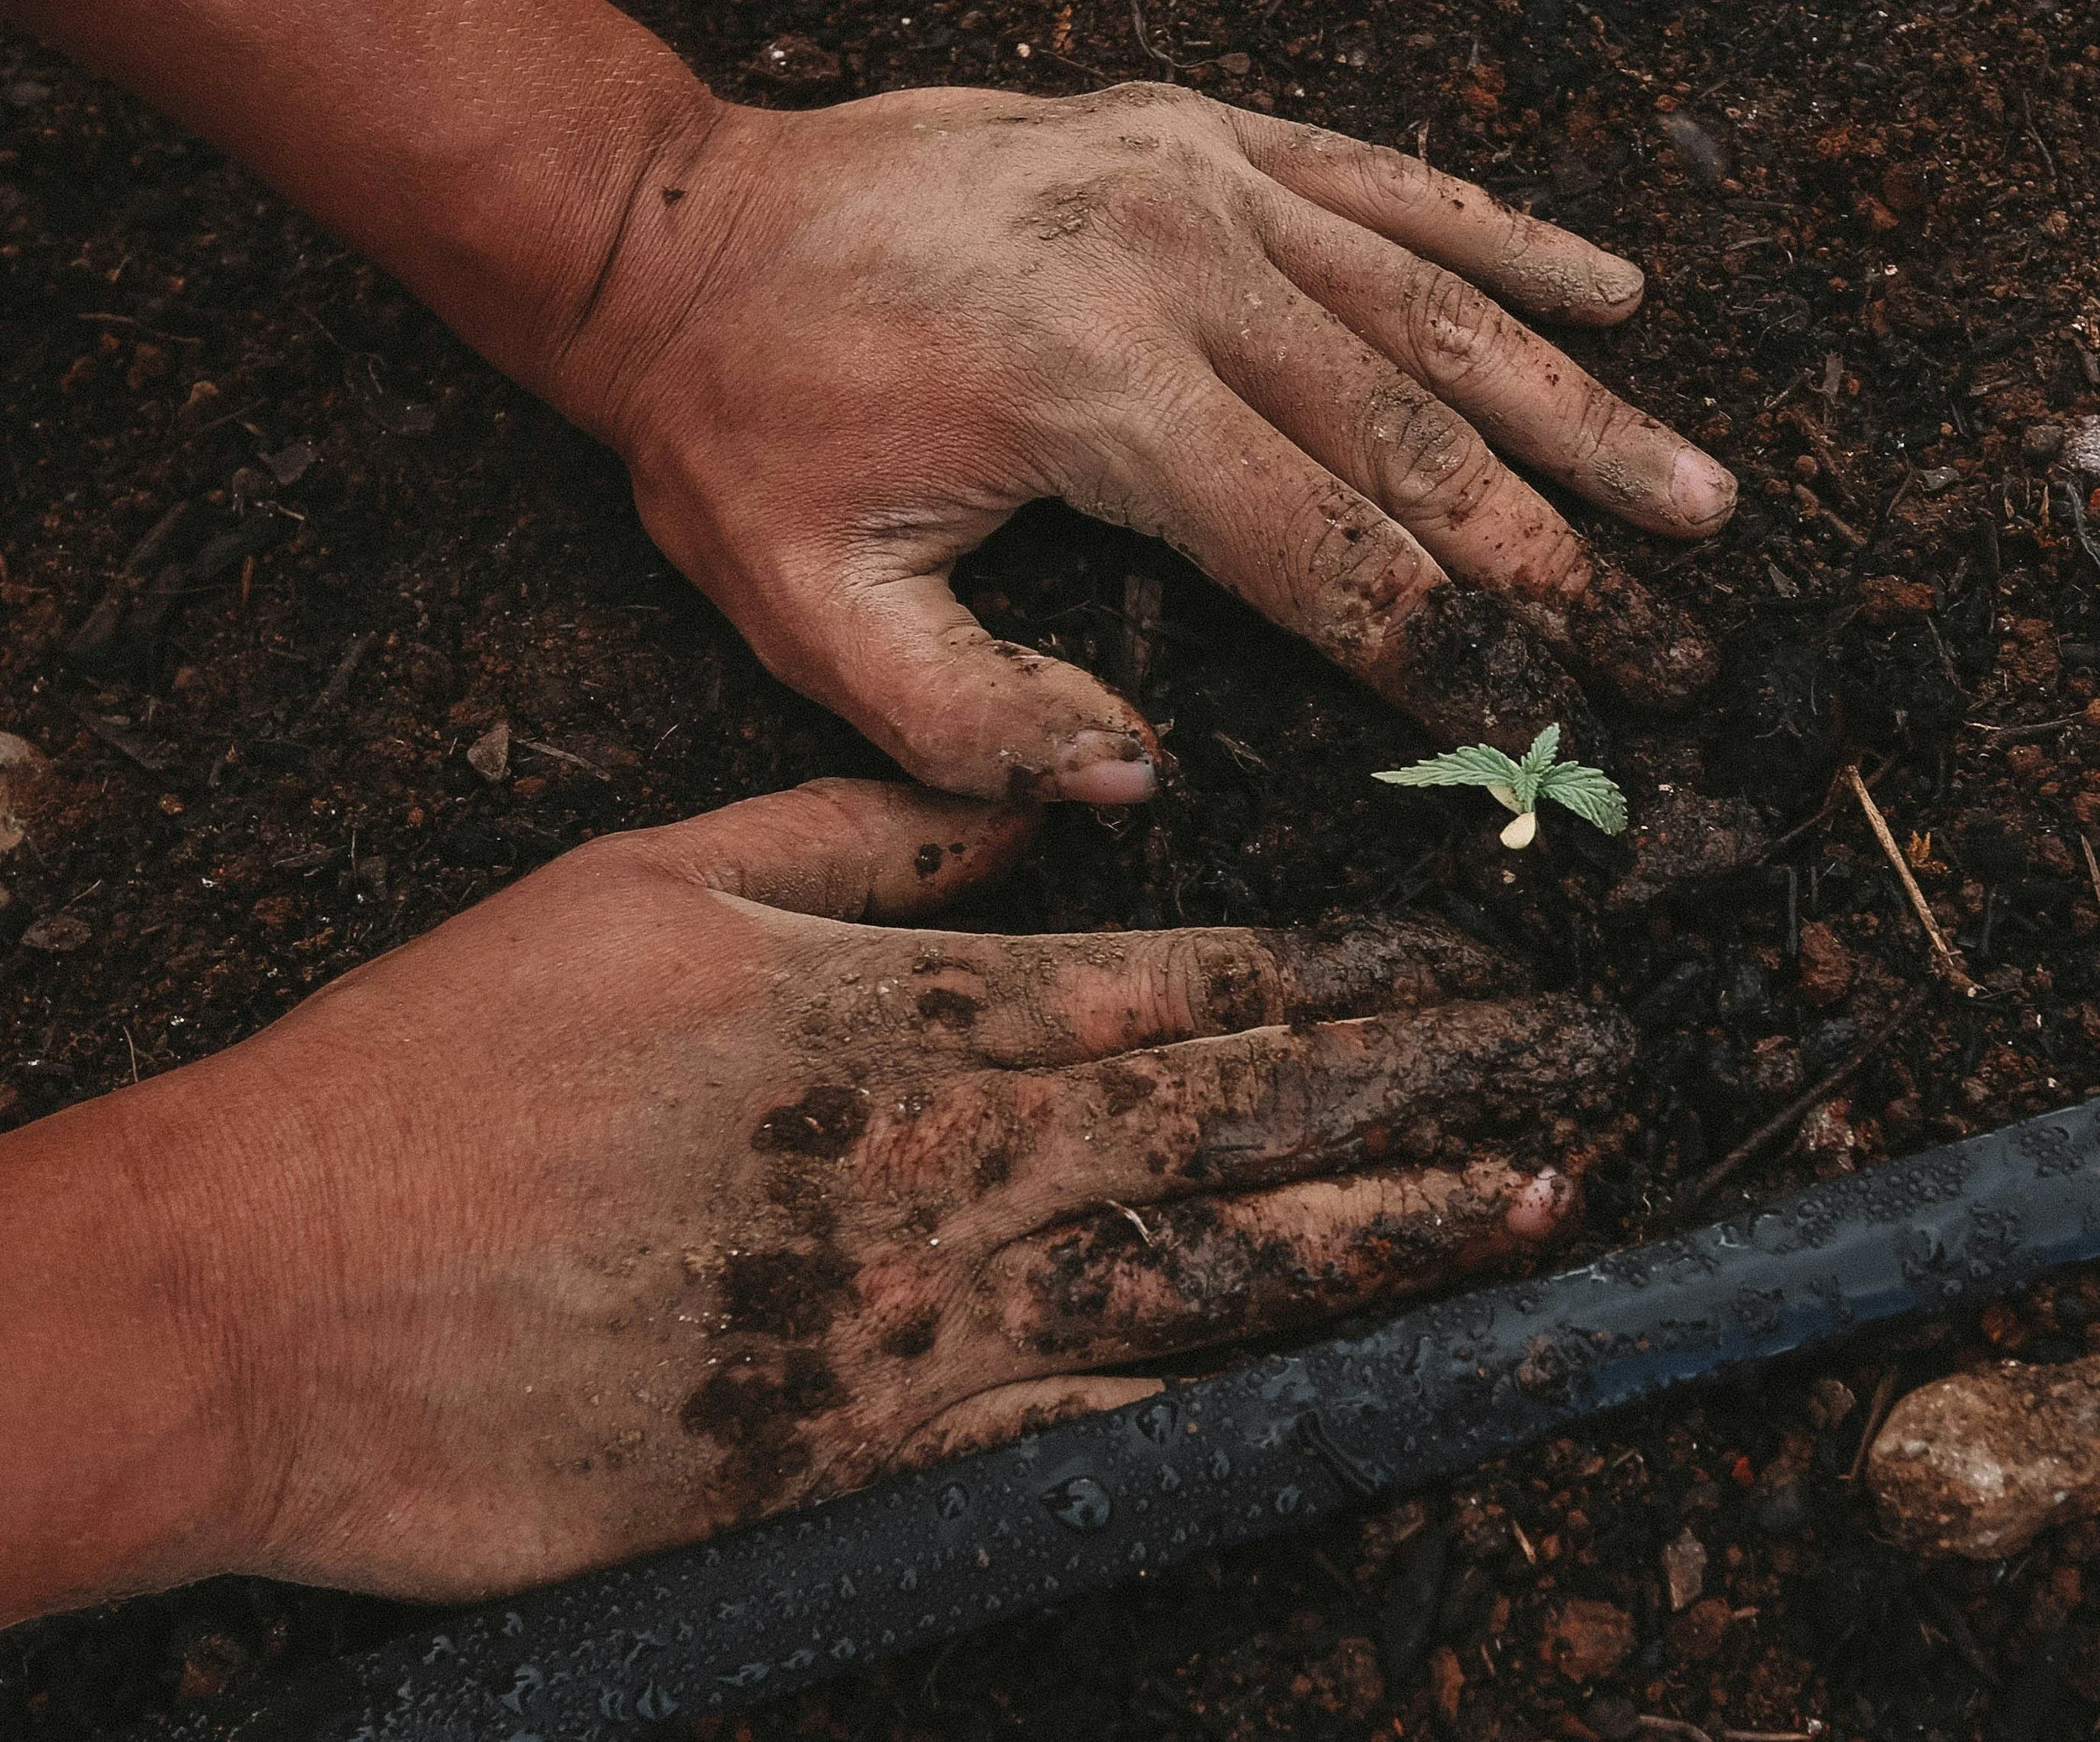
1. Don’t be in a rush.
Get your timing right for each crop (this free, printable Seed Starting Calculator is one way to pinpoint dates).
2. Don’t be cheap
Buy fresh seed if there’s any doubt. Check on average viability (in years) of a given type of leftover seed, but also ask yourself how well you really cared for it. Seed is alive (but not if you left it in the hot, humid garage all summer).
3. Don’t use just any old potting soil
Some brands may be too coarse, especially for smaller seeds. A fresh bag of sterile medium labeled “germination mix” or “seed-starting mix” is a safer bet.
4. Cleanliness counts
When re-using flats, trays, cells, and pots, wash with a dilute bleach solution (1:10 bleach:water) or at least hot, soapy water, if you wish to skip the bleach.
5. Pre-Moisten the Mix
Before putting in flats or cells, so it’s barely moist and no longer powdery dust. As I said: barely moist, just to take the edge off; not sodden! Trick: If working indoors, I just run water from the kitchen-sink sprayer into the plastic soil bag ahead of time; massage and turn the bag to distribute; then repeat a few times.
6. Use Bottom Heat
Heat from a germinating mat, and a dome lid or plastic wrap to create a “germination chamber” of around 70F…
7. Remember to Turn of the Heat
… but don’t leave the mat plugged in, or the lid on, once the plants have emerged. Seedlings don’t like it as warm, or moist, as seeds trying to sprout do.
8. Don’t let seeds dry out before they germinate
(a recipe for death!)…
9. Don’t Overwater
Water requirements drop dramatically as soon as they’re up and growing, when letting the soil go slightly dry between waterings is generally the best practice.
10. Invest in a Watering Device
One that’s gentle enough for seeds and seedlings. (The mister I use cost a whopping $20; I also use a turkey baster and cream pitcher, among other improvised tools. If watering with a garden hose, a breaker nozzle like the Dramm Lemonhead is recommended.)
11. Don’t Skimp on Light Once Seedlings Have Emerged
Keep the seedlings well lit once they’ve sprouted. (Don’t be surprised if they get spindly if you don’t.) To be perfectly clear: No windowsill growing!
12. Take Advantage of Fair Days Outside
You can make up for the limitations of artificial light with daylight; I carry my seedlings outside by day. Even closely spaced, super-efficient T5 high output bulbs might put out just one-fourth to one-fifth the light of a clear day in May outdoors, where the occasional breeze also helps toughen plants up. Between indoor and outdoor light sources, I like my plants to have 12 hours or even 14 daily. (I have long used T5-HO fluorescents, but as newer, more efficient LEDs have come down in price, I’m replacing or retrofitting my T5 hoods; how to shop for seed-starting lights.)
13. Do Direct-Sow Crops Suited to It
…but not unless you are committed to keeping the seedbed free from weeds that can outcompete tiny emerging seedlings. (One expert kale grower explains why she transplants, despite how easy kale is to sow directly outside.)
14. Don’t Rush to Transplant
This is especially with warm-season crops like tomatoes, peppers, eggplants. Nothing is gained by making them shiver before the weather really settles, and much can be lost in the wildest spring weather.
15. Don’t Transplant Seedlings into the Open Garden
For seedlings that haven’t been hardened off gradually, give them a few hours a day outdoors over a week or so before to allow for acclimation.
16. Do Sow Extra
Do “cull the herd” by discarding any weak or “off-type” seedlings at any stage of the process. More is not better if they are runts. One expert seed-farmer friend even starts her careful selection process even before sowing, discarding the smallest seeds from each packet. Give yourself the best chance for success with a bit of ruthlessness.
17. Plan for Succession Sowings of Many Crops
Sowing only a short row every couple of weeks and avoiding 40 servings of lettuce or 10 pounds of green beans in a single day’s harvest. Take advantage of both cool ends of the season to repeat sowing certain crops, such as peas. And in the hottest months, it may be easier to start more seedlings in cellpacks or flats in a protected spot near the house to transplant into garden spaces that become empty, than to get direct-sown seed to germinate in baking soil.
18. Don’t Blame Yourself for Every Failure
Old seed or poorly stored seed or just crappy seed can outsmart your best efforts. Sometimes seed was viable (had the ability to germinate) but lacked sufficient vigor (the ability to thrive). Learn the difference. And then you have the weather to invoke as the guilty party. This is gardening, remember? We can always blame the weather, and then try again.